2010 Camaro SS LS3 Cam Install
My 2010 Camaro just turned 1 year old, so I figured that I should get it a birthday present! With all of the basic bolt-on mods already installed, the next logical step is to install a larger camshaft. After scouring the internet for hours on end researching different cams and watching endless Youtube videos, I decided to install a Jannetty Racing Super Street 470HP Blower Cam.
Day 1 – 4 hours
Before I even get started I would like to thank robertway over at camaro5.com for putting together one of the most comprehensive DIY write-ups for installing a cam in an LS3! I will be using his write-up as a guide for my install.
Alright let’s get on with it!
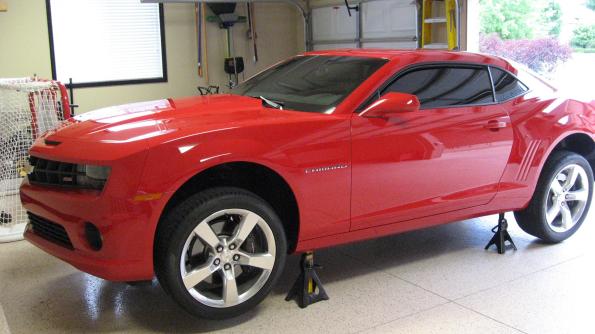
First get the car on jack stands
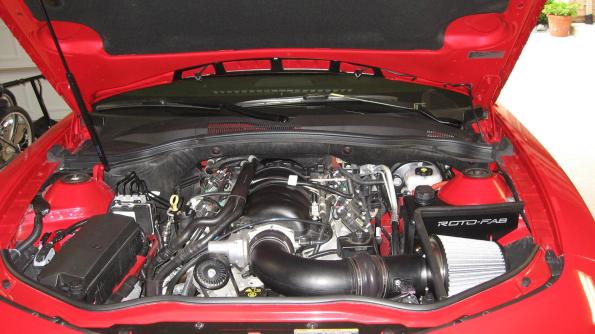
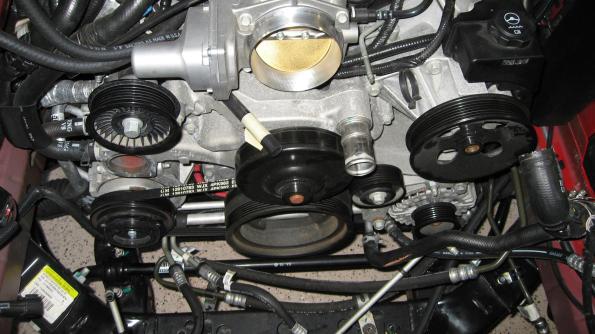
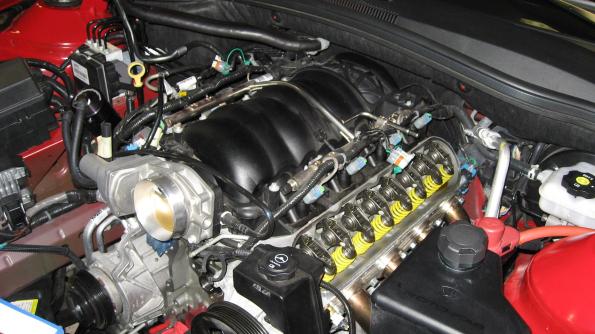
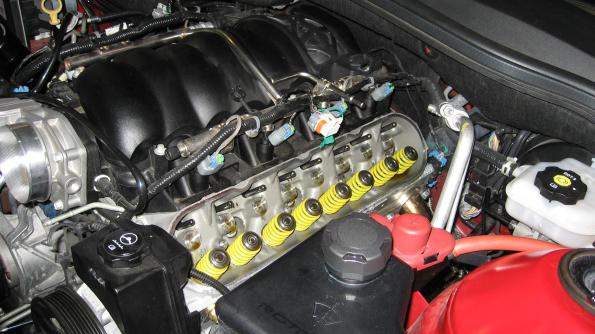
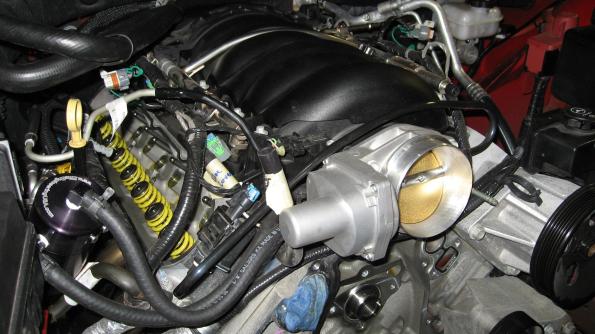
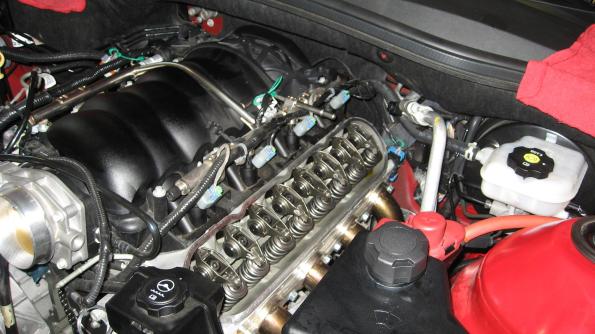
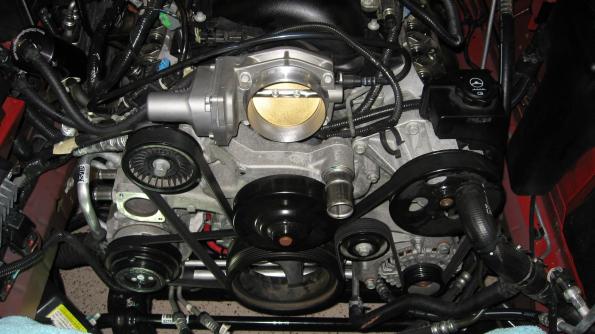
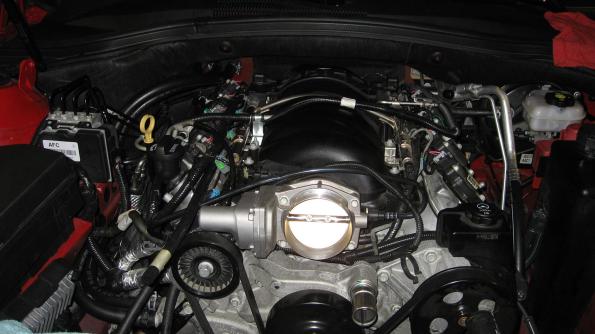
Engine compartment before getting started
Drain oil from oil pan, replace oil filter
Drain coolant from radiator
Remove spark plugs and wires
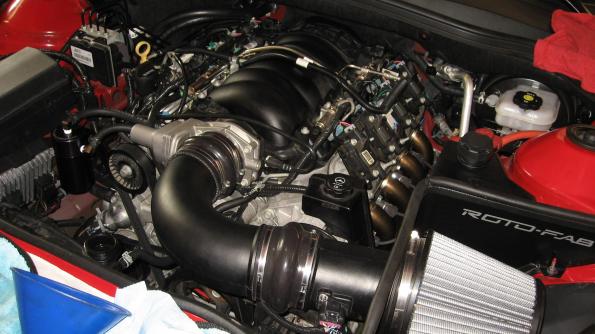
Remove cold air intake system

Remove all radiator hoses
Remove electric fans
Remove lines from transmission cooler
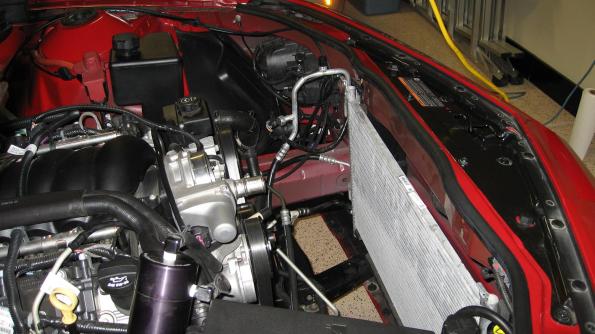
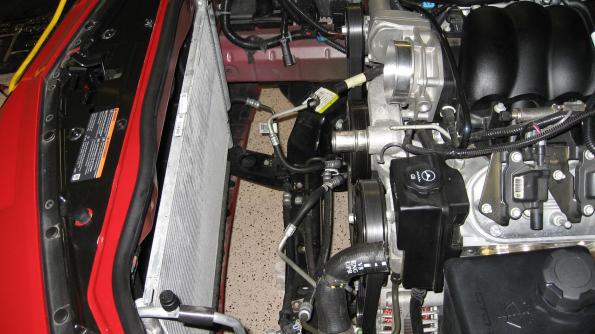
Remove radiator
Clean up mess of oil, coolant and transmission fluid on the garage floor
Day 2 – 2 Hours
Unbolt A/C and transmission line brackets from cross member
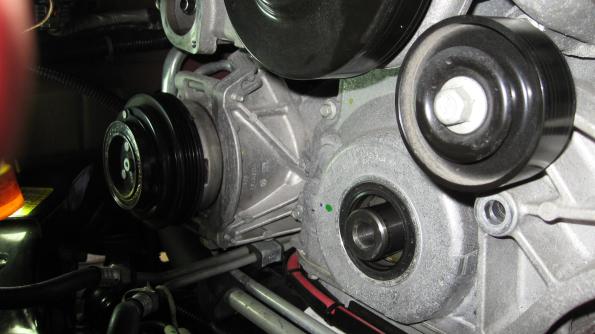
Remove serpentine belt
Remove A/C belt
Remove crank bolt by heating with a torch for about 10-15 seconds, then use a 24mm socket and a big ass breaker bar to crack it loose
Using a harmonic balancer puller, remove harmonic balancer from crankshaft
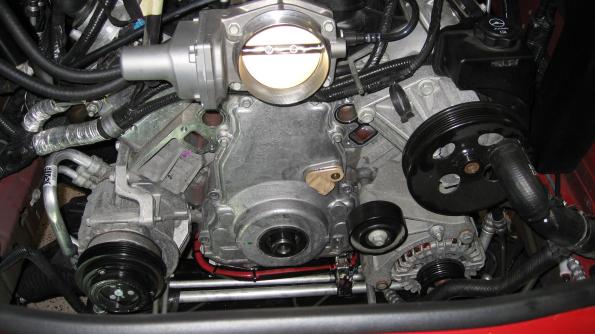
Remove water pump
Remove all oil pan bolts
Remove bolts holding the battery cable tray to the block
Remove timing cover bolts and remove timing cover
Day 3 – 3.5 Hours
Drop oil pan and remove oil pump
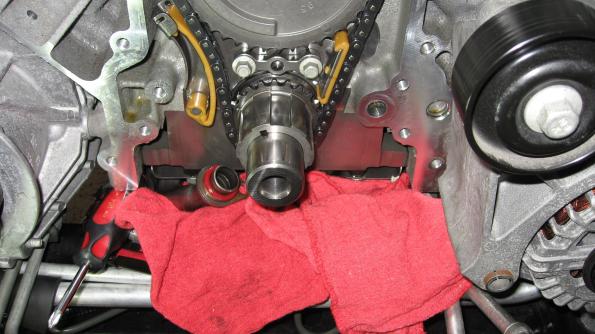
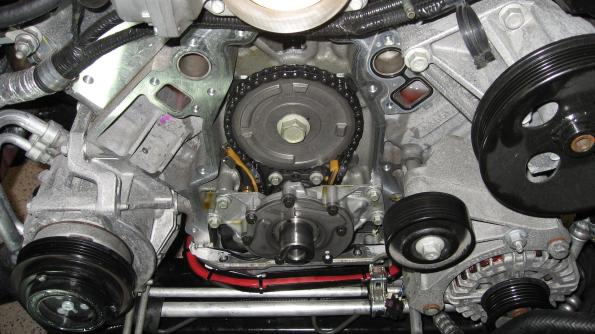
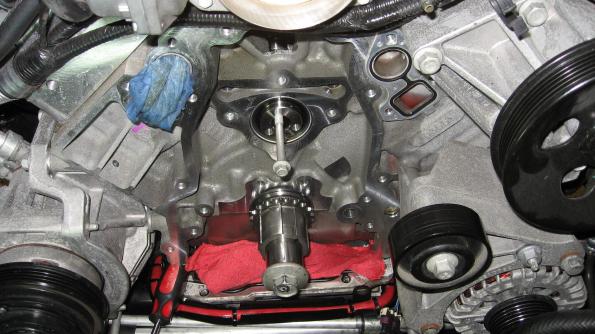
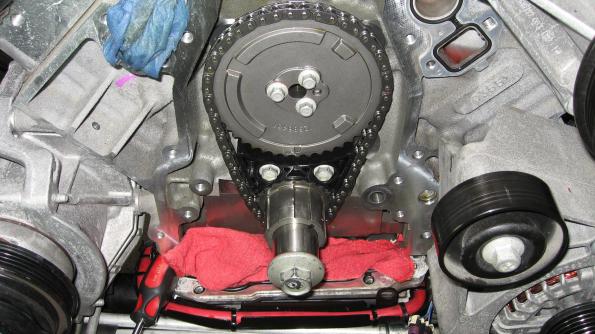
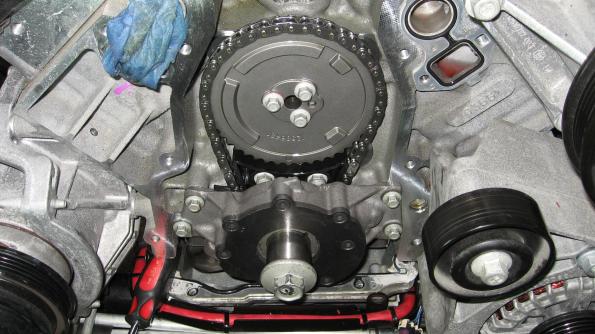
Align cam and crank sprockets with the dots at 6 and 12 o’clock
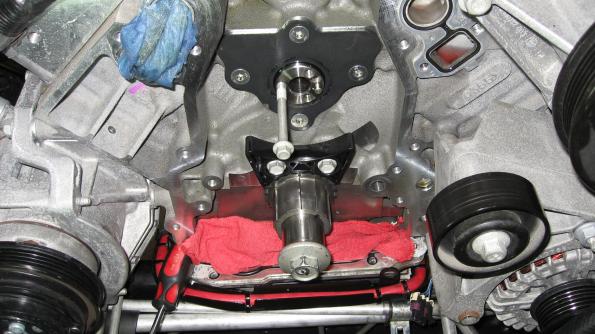
Remove timing chain tensioner
Remove cam/sprocket bolt
Remove timing chain
Remove cam retainer plate
Remove coil packs from both valve covers
Remove both valve covers
Remove all rockers arms
Remove all pushrods
Pull A/C condenser out of the way and secure to hood latch with bungee cord
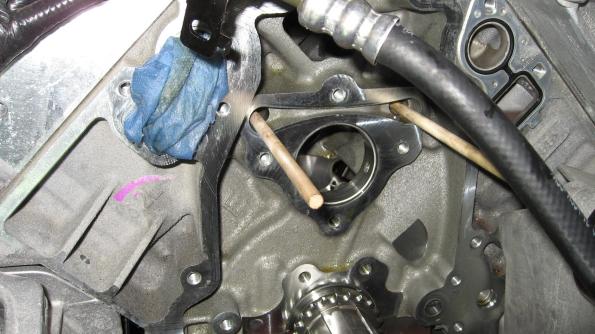
Insert 2 – 5/16″ X 24″ wood dowels into the lifter valley to prevent the lifters from dropping when removing the camshaft
Insert stock cam bolt into stock camshaft about halfway
Very carefully remove stock camshaft
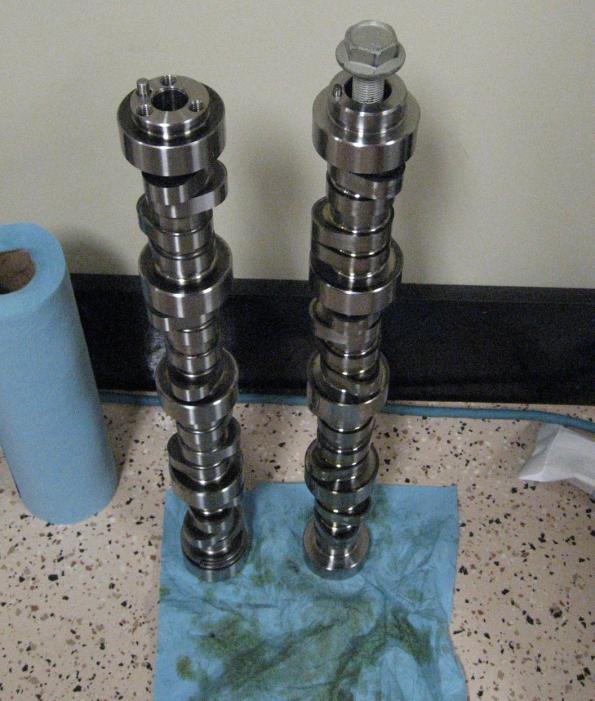
Here is the new 3 bolt Comp Cams camshaft vs. the stock camshaft
Generously coat the new camshaft with synthetic motor oil, or cam lube
Partially thread three water pump bolts into the new camshaft
Very carefully, insert the new camshaft into the engine block, paying close attention not to let the cam score the bearings
Once the cam is fully inserted, remove 2 of the 3 water pump bolts
Day 4 – 3 hours
Install cam retainer plate
Install LS2 style timing chain dampner/snubber
Dip new Katech C5R timing chain into oil and place over new cam sprocket
Install new timing chain and cam sprocket with the dots at 6 and 12 o’clock
Install new Melling oil pump carefully paying attention to not to tear the o-ring on the pickup tube
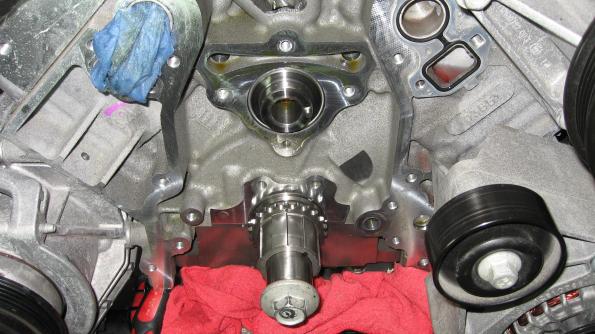
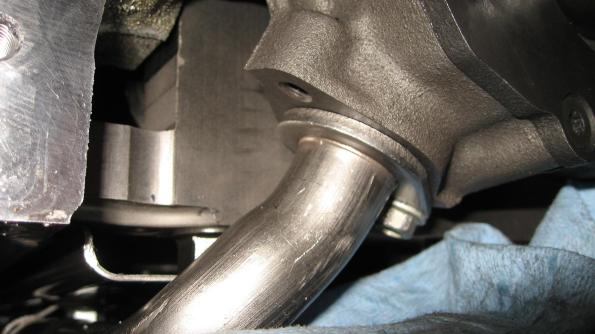
Check and double check that the pickup tube to oil pump connection is sealed properly. It should look like this when assembled
Install the pickup tube to oil pump bolt
Remove factory installed RTV sealant from oil pan gasket
Install oil pan and starter, torque all fastners
Day 5 – 4 Hours
On to the valvetrain…
Ensure that piston is at TDC for the cylinder that you are working so that the valves don’t drop into the block
Using a Crane Cams valve spring compressor tool compress two valve springs at a time

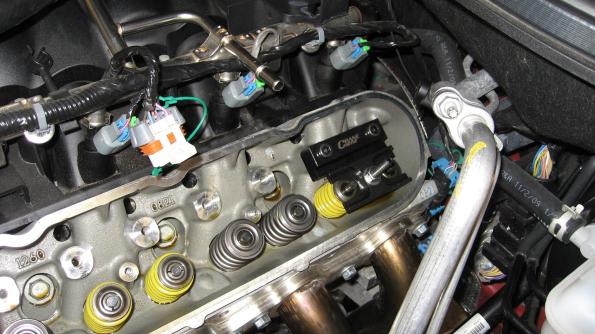
Remove valve locks, retainers and valve springs
Using pliers, remove the combination valve spring seats/valve seals
Install new spring seats
Install new valve seals
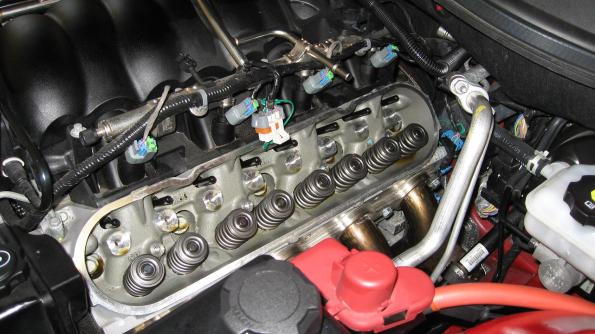
Install new dual valve spring, retainer and locks
Repeat this process for each cylinder (It is a rocking good time!)
Once all the valve springs have been replaced, install new hardened pushrods and rocker arms one cylinder at a time
Day 6 – 4 Hours
Punch out crank seal on timing cover and replace with a new seal

Install timing cover

Install harmonic balancer (Major PITA)
Reconnect battery cable tray to bottom of block
Install water pump
Install A/C and serpentine belts
Install rocker covers
Install coil packs
Install spark plugs
I decided to install a Katech heater hose relocation kit to get the heater hoses off the top of the intake manifold (another PITA). This kit re-routes the heater hoses to clean up the engine, and gets the hot hoses off of the intake manifold.
Since I lost about a quart of transmission fluid when disconnecting the lines from the cooler, I figured now would be a good time to drain the remaining fluid from the transmission and change it over to synthetic fluid.

Day 7 – 2 Hours
Install radiator, connect all hoses/lines
Install E-Fans
Fill transmission with 4 quarts of Mobil 1 synthetic ATF
Fill engine with 7 additional quarts of Mobil 1 oil
Fill radiator with 50/50 Dexcool Antifreez/Coolant
Install cold air intake
Check all fuel lines, PCV hoses, electrical connections, etc. under the hood
Crank engine over several times for 15-20 seconds with spark plugs disconnected to circulate oil through engine and build oil pressure
Connect spark plug wires
Say a prayer, start engine!
The results:

Great write up thank you!
Lol, all the fluids are synthetic from chev.
Check your dealer if you doubt me.
BTW, both A6 AND M6 use synthetic ATF.
What’s it dyno?
I know this is an old post but did you run into any difficulties dropping the oil pan? I am planning on doing a cam swap soon.
No need to completely remove the oil pan for the cam swap. Just need to remove all of the bolts and let the pan drop down a couple of inches.
Thank God for OHC engines! Great guide though.